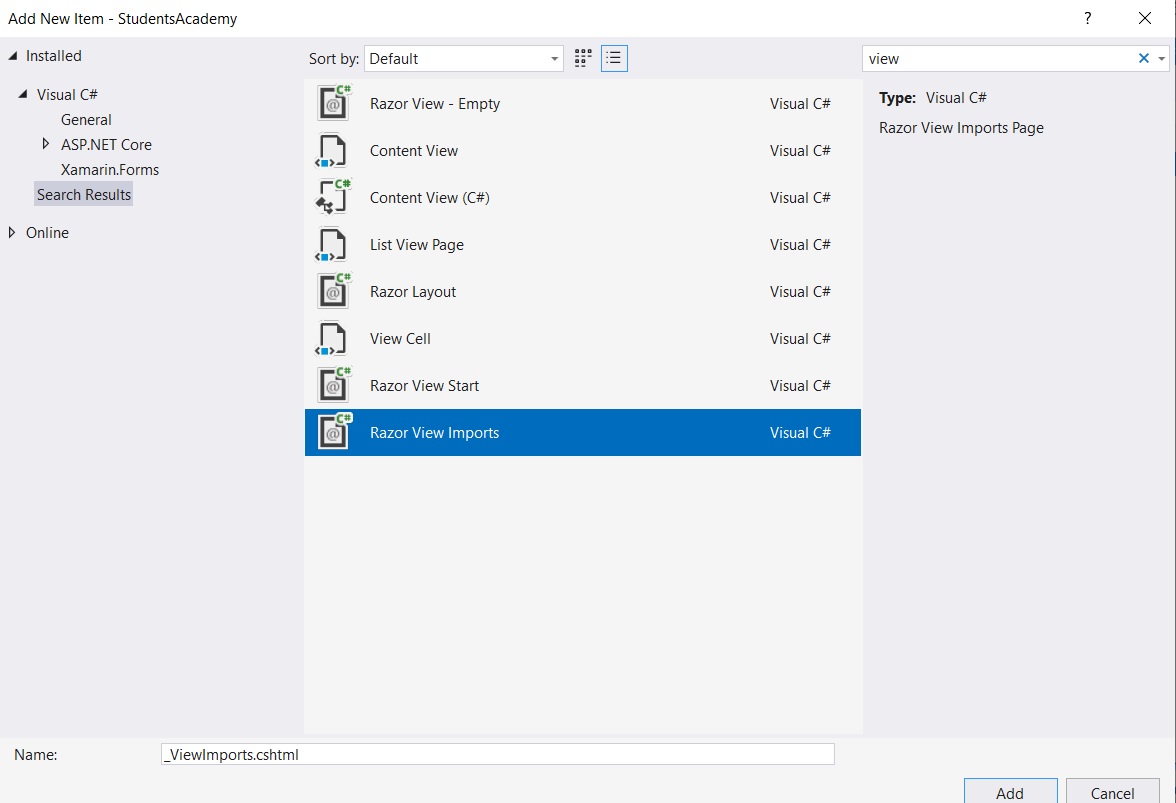
مقدمة الى Dependency Injection
-
Dependency Injection (DI) هو تقنية في ASP.NET Core MVC لتحقيق loosely coupling بين objects. إذا كانت Controller تعتمد على class آخر، فعندئذٍ يتم تحديد dependency في هذا ال class في constructor التابع ل Controller. وعند وجود هذه dependency ، يوفر Core MVC ال class object إلى Controller تلقائيًا. لذلك يوفر هذا ما يسمى loosely coupling بين Controller وال class الأخرى
using System;
using System.Collections.Generic;
using System.Linq;
using System.Threading.Tasks;
namespace StudentsAcademy.Models
{
    public class CoursesModel
    {
        public string CourseNumber { get; set; }
        public string CourseName { get; set; }
        public string CourseDescription { get; set; }
        public decimal Price { get; set; }
        public int Capacity { get; set; }
    }
}
using StudentsAcademy.Models;
using System;
using System.Collections.Generic;
using System.Linq;
using System.Threading.Tasks;
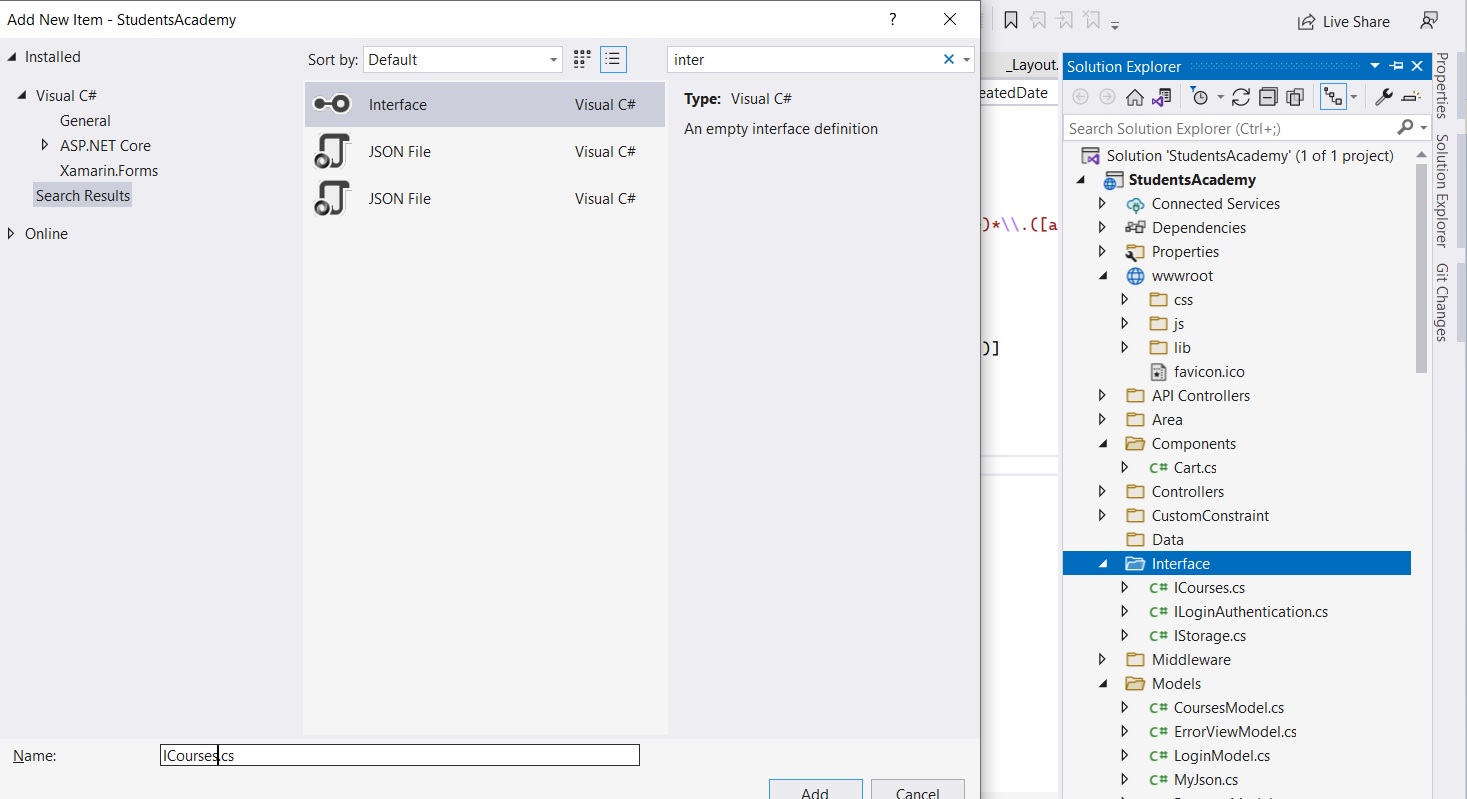
namespace StudentsAcademy.Interface
{
interface ICourses
{
IEnumerable<CoursesModel> _CoursesModel { get; }
CoursesModel this[string name] { get; }
void AddCourse(CoursesModel _CoursesModel);
void DeleteCourse(int CourseId);
}
}
using StudentsAcademy.Interface;
using StudentsAcademy.Models;
using System;
using System.Collections.Generic;
using System.Linq;
using System.Threading.Tasks;
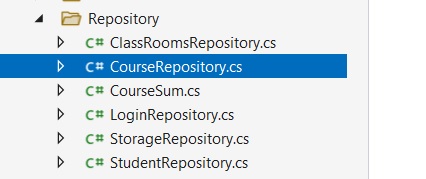
namespace StudentsAcademy.Repository
{
public class CourseRepository : ICourses
{
private Dictionary<string, CoursesModel> _coursesModel;
public CourseRepository()
{
_coursesModel = new Dictionary<string, CoursesModel>();
new List<CoursesModel> {
new CoursesModel { CourseNumber = "0001",CourseName="Math",CourseDescription="Math Desc",Capacity=20, Price = 115 },
new CoursesModel { CourseNumber = "0002",CourseName="Sciences",CourseDescription="Sciences Desc",Capacity=30, Price = 120 },
new CoursesModel { CourseNumber = "0003",CourseName="Physics",CourseDescription="Physics Desc",Capacity=25, Price = 140 }
}.ForEach(p => AddCourse(p));
}
public IEnumerable<CoursesModel> _CoursesModel => _coursesModel.Values;
public CoursesModel this[string name] => _coursesModel[name];
public void AddCourse(CoursesModel Courses) => _coursesModel[Courses.CourseName] = Courses;
public void DeleteCourse(CoursesModel Courses) => _coursesModel.Remove(Courses.CourseNumber);
}
}
        {
            _coursesModel = new Dictionary<string, CoursesModel>();
            new List<CoursesModel> {
                new CoursesModel { CourseNumber = "0001",CourseName="Math",CourseDescription="Math Desc",Capacity=20, Price = 115 },
                new CoursesModel { CourseNumber = "0002",CourseName="Sciences",CourseDescription="Sciences Desc",Capacity=30, Price = 120 },
                new CoursesModel { CourseNumber = "0003",CourseName="Physics",CourseDescription="Physics Desc",Capacity=25, Price = 140 }
            }.ForEach(p => AddCourse(p));
}using Microsoft.AspNetCore.Builder;
using Microsoft.AspNetCore.Hosting;
using Microsoft.AspNetCore.HttpsPolicy;
using Microsoft.Extensions.Configuration;
using Microsoft.Extensions.DependencyInjection;
using Microsoft.Extensions.Hosting;
using System;
using System.Collections.Generic;
using System.Linq;
using System.Threading.Tasks;
using StudentsAcademy.Services;
using StudentsAcademy.Middleware;
using StudentsAcademy.Share;
using Microsoft.EntityFrameworkCore;
namespace StudentsAcademy
{
public class Startup
{
public Startup(IConfiguration configuration)
{
Configuration = configuration;
}
public IConfiguration Configuration { get; }
// This method gets called by the runtime. Use this method to add services to the container.
public void ConfigureServices(IServiceCollection services)
{
services.Configure<Connections>(Configuration.GetSection("ConnectionStrings"));
services.AddDbContext<ApplicationDbContext>(options => options.UseSqlServer(Configuration.GetConnectionString("DefaultConnection")));
services.AddSingleton<TotalStudents>();
services.AddControllersWithViews();
}
// This method gets called by the runtime. Use this method to configure the HTTP request pipeline.
public void Configure(IApplicationBuilder app, IWebHostEnvironment env)
{
if (env.IsDevelopment())
            {
                app.UseDeveloperExceptionPage();
                app.UseStatusCodePages();
            }
            else
            {
                app.UseExceptionHandler("/Home/Error");
                // The default HSTS value is 30 days. You may want to change this for production scenarios, see https://aka.ms/aspnetcore-hsts.
                app.UseHsts();
            }
app.UseHttpsRedirection();
app.UseStaticFiles();
app.UseRouting();
app.UseAuthorization();
app.UseEndpoints(endpoints =>
{
endpoints.MapControllerRoute(
name: "default",
pattern: "{controller=Home}/{action=Index}/{id?}");
});
}
}
}
if (env.IsDevelopment())
{
app.UseDeveloperExceptionPage();
app.UseStatusCodePages();
}
else
{
app.UseExceptionHandler("/Home/Error");
// The default HSTS value is 30 days. You may want to change this for production scenarios, see https://aka.ms/aspnetcore-hsts.
app.UseHsts();
}
app.UseExceptionHandler("/Home/Error");using Microsoft.AspNetCore.Mvc;
using StudentsAcademy.Repository;
using System;
using System.Collections.Generic;
using System.Linq;
using System.Threading.Tasks;
namespace StudentsAcademy.Controllers
{
public class CoursesController : Controller
{
public IActionResult Index()
{
return View(new CourseRepository()._CoursesModel);
}
}
}
new CourseRepository()._CoursesModel

@model IEnumerable<CoursesModel>
@{ Layout = null; }
<!DOCTYPE html>
<html>
<head>
    <meta name="viewport" content="width=device-width" />
    <title>Dependency Injection</title>
    <link rel="stylesheet" asp-href-include="lib/twitter-bootstrap/css/bootstrap.css" />
</head>
<body class="m-1 p-1">
    @if (ViewData.Count > 0)
    {
        <table class="table table-bordered table-sm table-striped">
            @foreach (var kvp in ViewData)
            {
                <tr><td>@kvp.Key</td><td>@kvp.Value</td></tr>
            }
        </table>
    }
    <table class="table table-bordered table-sm table-striped">
        <thead>
            <tr>
                <th>Course Number</th>
                <th>CourseName</th>
                <th>CourseDescription</th>
                <th>Price</th>
                <th>Capacity</th>
            </tr>
        </thead>
        <tbody>
            @if (Model == null)
            {
                <tr><td colspan="3" class="text-center">No Model Data</td></tr>
            }
            else
            {
                @foreach (var p in Model)
                {
        <tr>
            <td>@p.CourseNumber</td>
            <td>@p.CourseName</td>
            <td>@p.CourseDescription</td>
            <td>@string.Format("{0:C2}", p.Price)</td>
            <td>@p.Capacity</td>
        </tr>
                }
            }
        </tbody>
    </table>
</body>
</html>
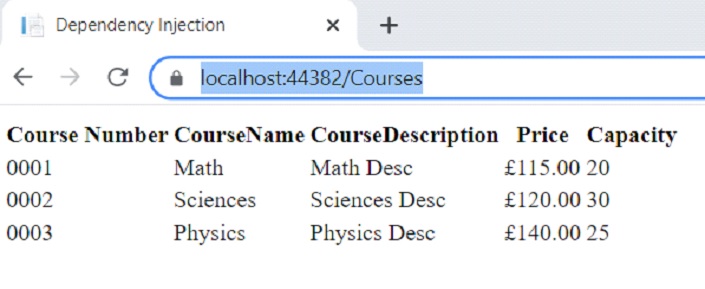
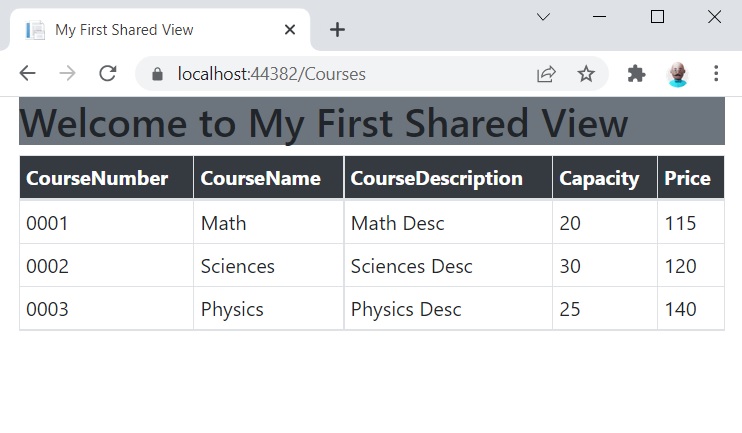
https://localhost:44382/Courses
@using StudentsAcademy
@using StudentsAcademy.Models
@addTagHelper *, Microsoft.AspNetCore.Mvc.TagHelpers
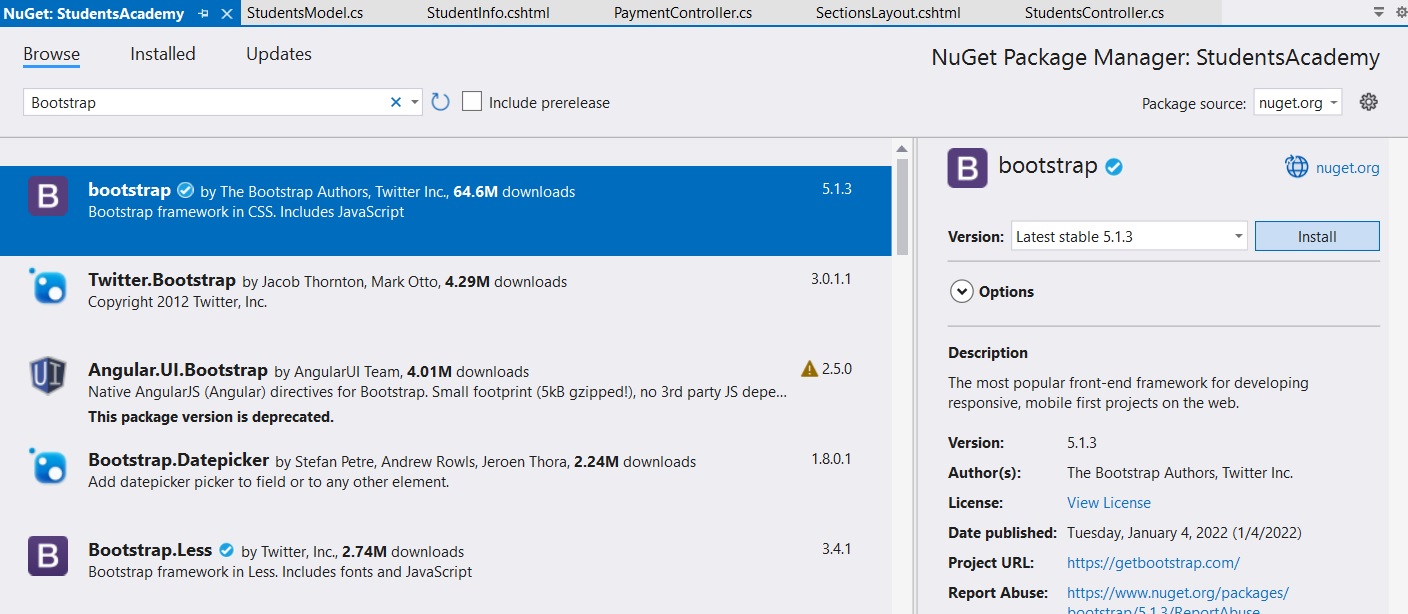
<link rel="stylesheet" asp-href-include="lib/twitter-bootstrap/css/bootstrap.css" />
return View(new CourseRepository()._CoursesModel);
public IActionResult Index()
{
    return View(new NewRepository().Courses);
}
public class CourseRepository : ICourses
{
}
تمام، بعد تعريف Interface في شغلتين لازم نعملهم:
• 1. أضافة متغيرً من نوع Interface الى هو في هذه الحالة (ICourses) في controller في التطبيق.
• 2. أضافة constructor يحتوي على parameter لهذه interface. داخل constructor ، يمكن تعيين قيمة interface variable على قيمة parameter.
الآن في action method ، يمكنك الوصول إلى المواد باستخدام interface نفسها.
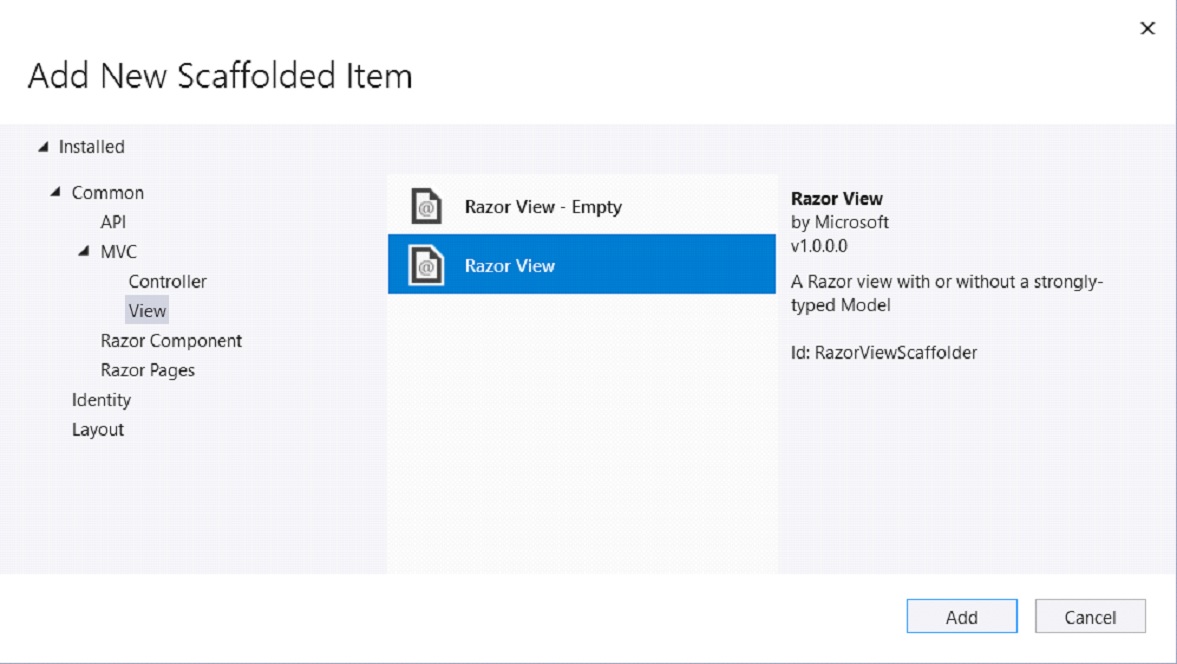
شكل الكود بعد التعديل:
using Microsoft.AspNetCore.Mvc;
using StudentsAcademy.Interface;
using StudentsAcademy.Repository;
using System;
using System.Collections.Generic;
using System.Linq;
using System.Threading.Tasks;
namespace StudentsAcademy.Controllers
{
    public class CoursesController : Controller
    {
        private ICourses CoursesRepository;
        public CoursesController(ICourses repo)
        {
            CoursesRepository = repo;
        }
        public IActionResult Index()
        {
            return View(CoursesRepository._CoursesModel);
        }
    }
}
public void ConfigureServices(IServiceCollection services)
        {
            services.Configure<Connections>(Configuration.GetSection("ConnectionStrings"));
            services.AddDbContext<ApplicationDbContext>(options => options.UseSqlServer(Configuration.GetConnectionString("DefaultConnection")));
            services.AddTransient<ICourses, CourseRepository>();
            services.AddSingleton<TotalStudents>();
            services.AddControllersWithViews();
        }
services.AddTransient<IRepository, NewRepository>();.
ميزة DI(Dependency Injection)
مع DI ، من السهل جدًا إجراء التغييرات. الكود التالي
services.AddTransient<IRepository, NewRepository>();
بهذه نكون قد طبقنا مثال عملي على Dependency Injection


اترك تعليقك